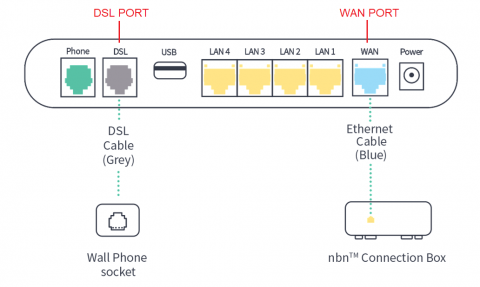
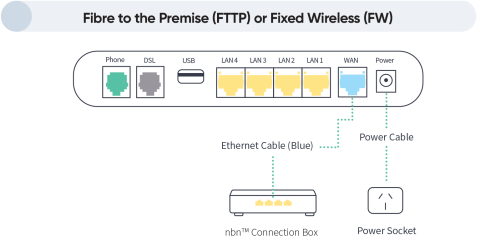
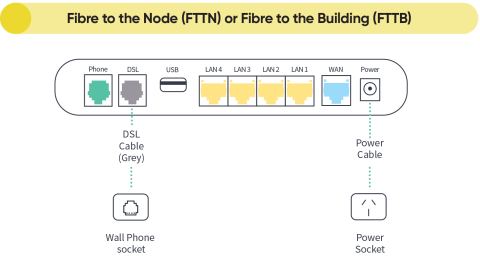
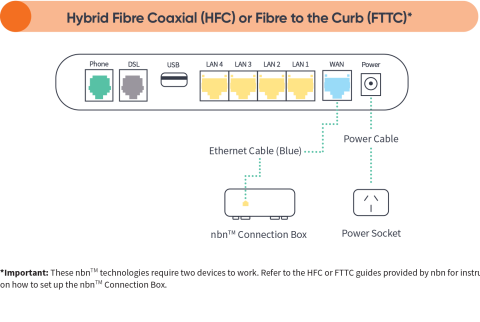
To use your Vodafone Wi-Fi Hub™ 2.0 modem, simply follow the steps below, and you should be connected to Dodo nbn in no time.
Step 1
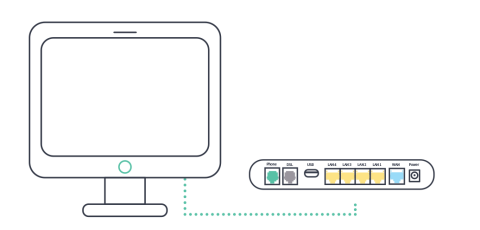
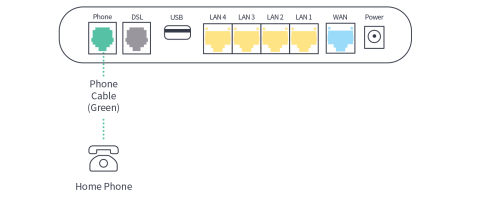
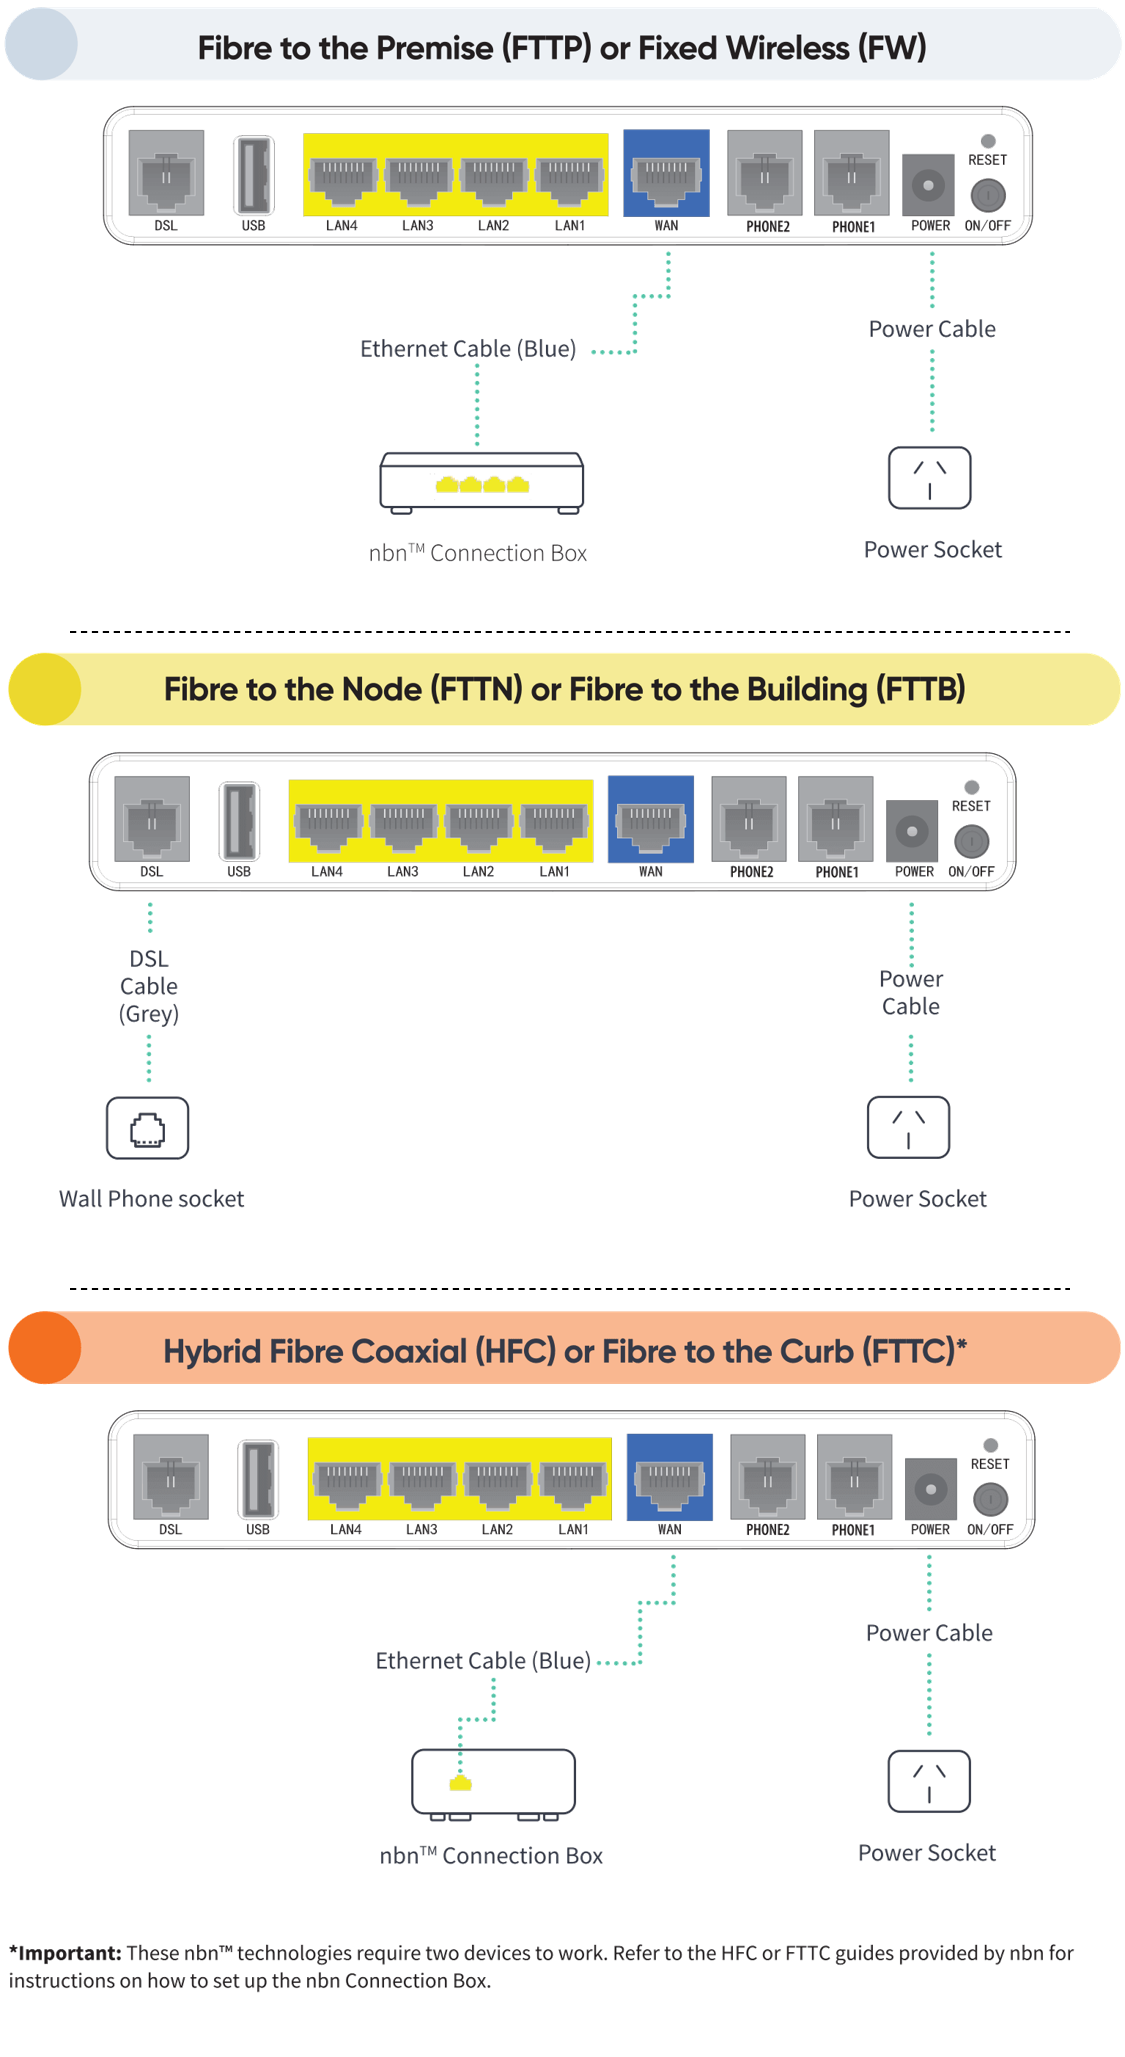
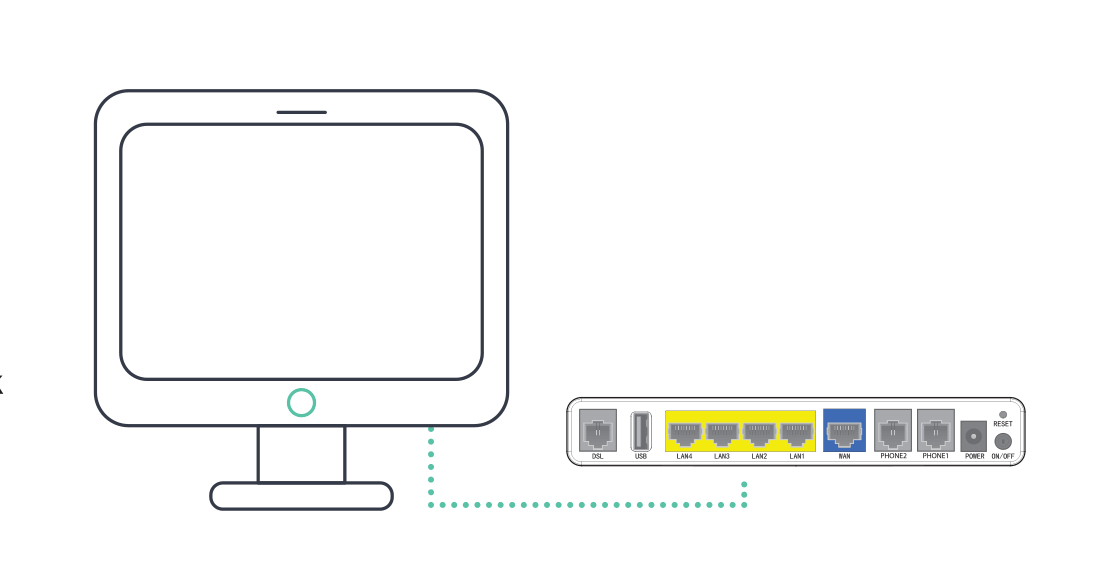
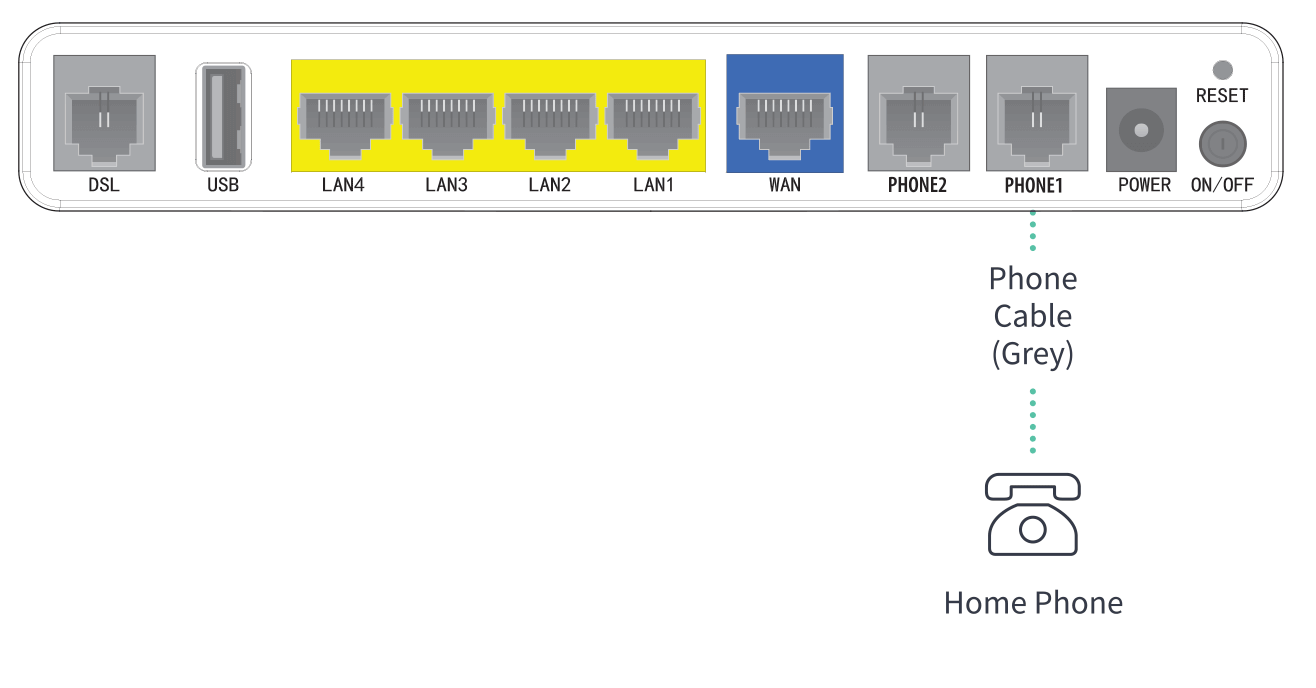
Ensure that your modem is powered on and all wiring has been connected correctly.
Step 2
Using a paper clip press the modem’s reset button for about 10 seconds.
The reset button is located on back of modem as shown below.
Step 3
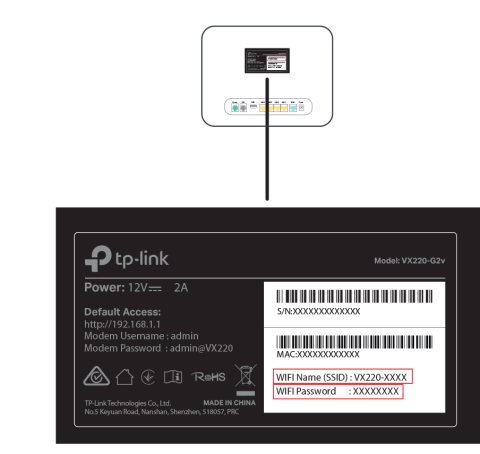
Next you'll need to login to your modem, using a web browser type in this IP address 192.168.1.1 and press enter.
Step 4
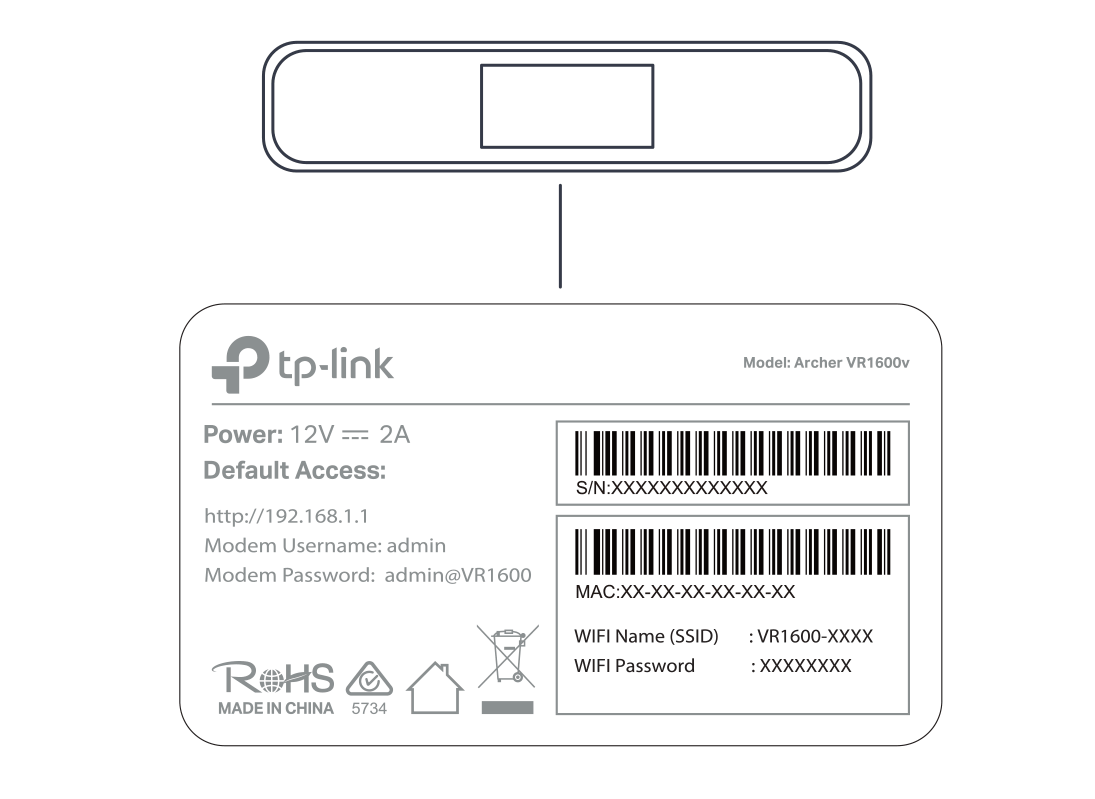
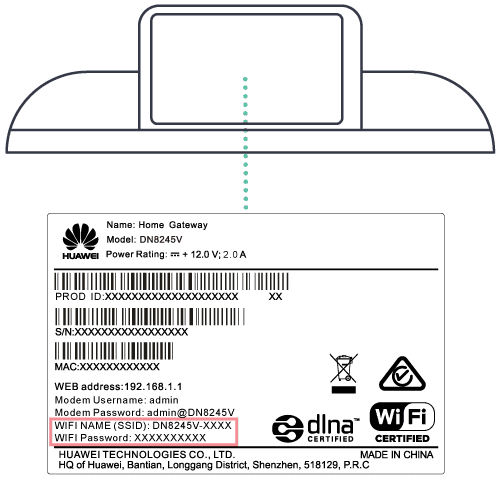
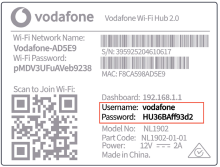
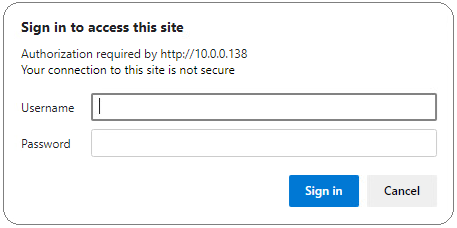
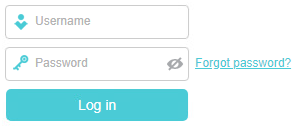
When prompted, enter your modem login details.
These can be found at the bottom of the product sticker on your device.
Step 5
Once you have logged into your modem select "Advance Setup" from the menu bar.
Then select "WAN Service" from the menu.
Step 6
Next you need to update the connection settings.
Click "Add" button.
Step 7
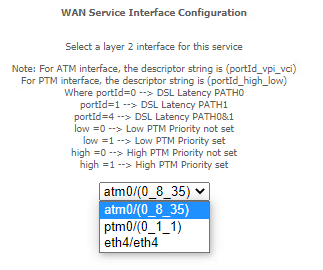
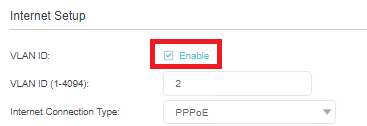
From the drop down menu, select the change the Connection Type from IPoE to PPPoE.
Select the the option that matches your nbn technology type*:
*If you’re unsure of your nbn technology type, you can find it in your Dodo welcome email, or you can click here to check what’s available at your address.
Step 8
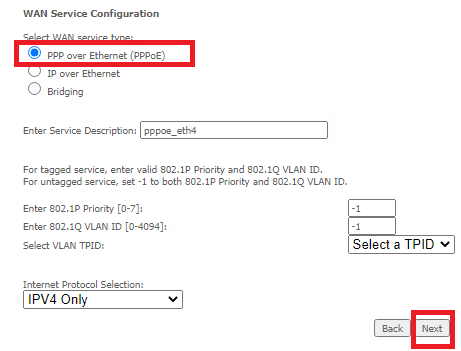
Under WAN Service Configuration, select PPP (it should be selected by default).
Then press "Next".
Step 9
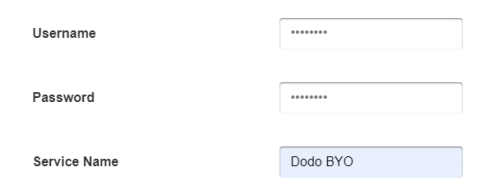
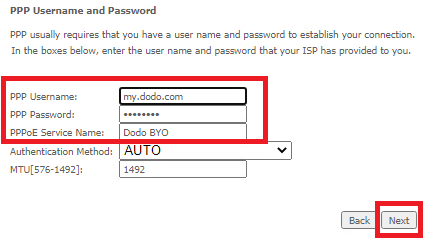
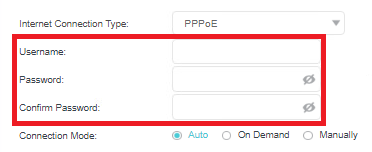
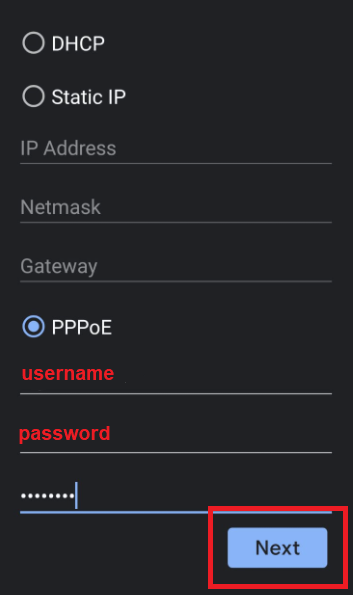
Fill in the PPP Username and Password details:
- Change the PPP username to: "email address used on signup"
- Change the PPP password to: dodointernet
- Change the PPPoE Service Name to: Dodo BYO
- Then press "Next"
Step 10
You will then see the Routing -- Default Gateway screen, just press "Next" to continue.
Step 11
Next you'll see the DNS Server Configuration screen, just press "Next" to continue.
Step 12
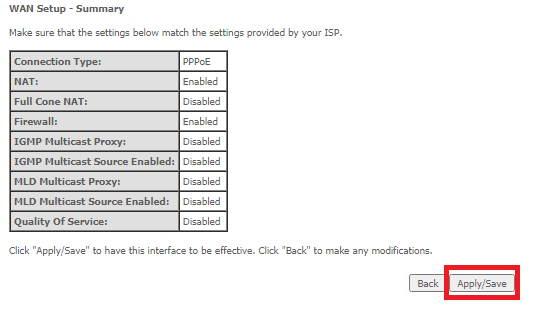
You'll now see the WAN Setup - Summary screen, click "Apply/Save"
Your modem should now be online and connected to your
nbn service.
